Ingredients
Method
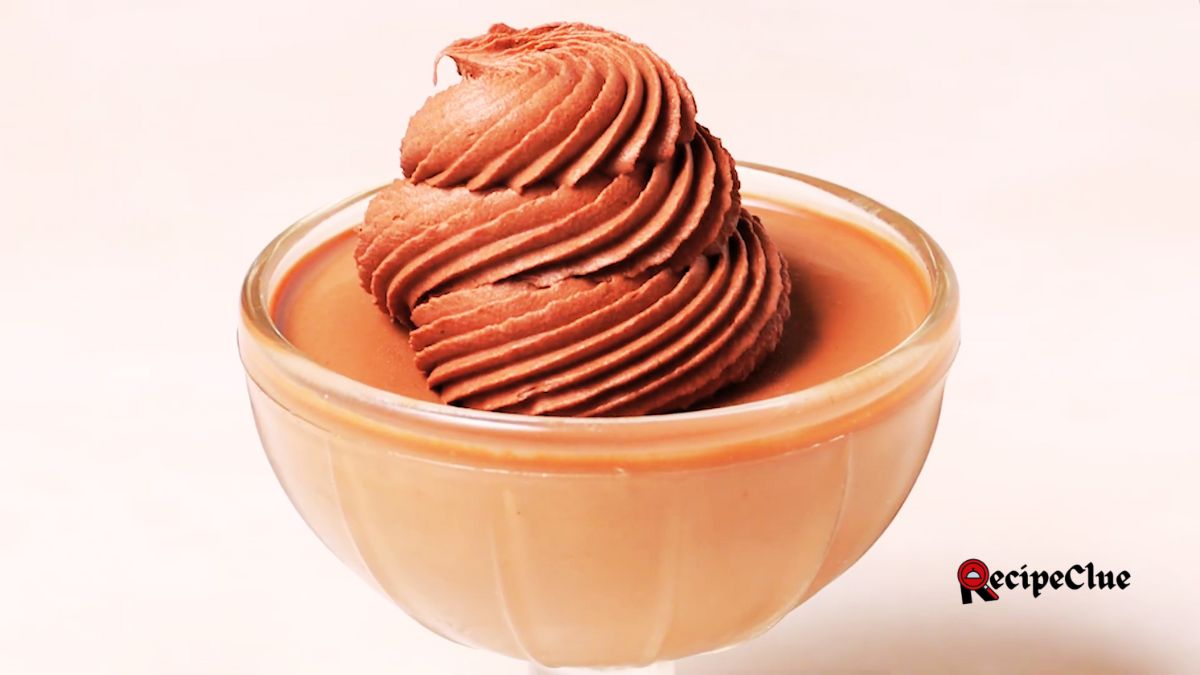
- Start by pouring the heavy cream into a mixing bowl. Add vanilla powder or extract. Then sift in the powdered sugar and cocoa powder. Sifting helps avoid lumps and makes the mix smooth.
- Use a hand mixer or stand mixer to whip the mixture at medium-high speed. You are looking for soft to medium peaks. That means the cream holds its shape but still looks soft and creamy.
- Once the whipped mix is ready, gently fold in the Fairlife chocolate milk. Do not stir too hard, you want to keep the air in the cream, so it stays fluffy.
- Pour the mixture into your Cream pint container. Make sure it is level and not overfilled. Put the lid on and freeze it for at least 24 hours. This step is super important, do not rush it.
- After freezing, take the pint out and place it in your Cream machine. Use the “Lite Ice Cream” or “Soft Serve” setting. Let it spin until it is smooth and creamy.
- If you want to add chocolate chips, crushed cookies, or nuts, now is the time. Use the “Mix-In” setting on your Cream and let it blend for a few seconds.
Video
Notes
You can make Fairlife Chocolate Milk Cream ahead of time, which is great for busy days. Just follow the recipe and freeze it in the container. It stays good in the freezer for up to 2 weeks. Cover it tightly with the lid or plastic wrap to keep air out.
If you want to re-freeze leftovers, make sure the container is sealed well to avoid freezer burn. To tell if it has gone bad, check for a sour smell or weird texture, like ice crystals or a grainy feel.
If it looks or smells off, it is not safe to eat. Always store it at the back of the freezer where it is coldest.